


Move more. Sit less. For many years, that’s been accepted guidance for people wanting to get healthier.
Now that message is getting refined, with a growing body of research suggesting that certain types of movements may be more beneficial than others when it comes to health benefits.
The intensity of your exercise may matter as well. A new study published in the European Heart Journal found that a small amount of vigorous activity may be linked to lower risk of eight different chronic diseases.
The findings raise questions about why intensity matters and how people can incorporate more intense exercise routines into everyday life. To better understand the study’s implications, I spoke with CNN wellness expert Dr. Leana Wen, an emergency physician and clinical associate professor at George Washington University. She previously served as Baltimore’s health commissioner.
Before beginning any new exercise program, consult your doctor. Stop immediately if you experience pain.
CNN: What did this study examine about exercise and its relationship to chronic disease?
Dr. Leana Wen: This investigation looked at how the intensity of physical activity is related to the risk of developing a range of chronic diseases. Researchers analyzed data from two very large groups in the UK Biobank, which is a long-term health study in the United Kingdom that tracks medical and lifestyle information from hundreds of thousands of participants. One group included about 96,000 people who wore wrist activity trackers that objectively measured their movement, and the other included more than 375,000 people who self-reported their activity.
The researchers followed participants over an average of about nine years and examined the development of eight conditions: major cardiovascular events, atrial fibrillation, type 2 diabetes, immune-related inflammatory diseases, fatty liver disease, chronic respiratory disease, chronic kidney disease and dementia, as well as overall mortality.
The key finding was that the proportion of activity done at vigorous intensity mattered. People who had more than about 4% of their total activity classified as vigorous had substantially lower risks of developing these conditions compared with people who had no vigorous activity at all. The numbers were stunning, with the participants having the following results:
-
63% lower risk of dementia,
-
60% lower risk of type 2 diabetes,
-
48% lower risk of fatty liver disease,
-
44% lower risk of chronic respiratory disease,
-
41% lower risk of chronic kidney disease,
-
39% lower risk of immune-mediated inflammatory diseases,
-
31% lower risk of major cardiovascular events,
-
29% lower risk of atrial fibrillation, and
-
46% lower risk of death from any cause.
These results are amazing. Imagine if someone invented a medication that could reduce the risks of all these diseases at once — it would be very popular! Crucially, even people who exercised a lot still benefited if the proportion of time they spent doing vigorous physical activity was increased. Conversely, people who were relatively inactive also benefited from adding just a little bit of higher-intensity exercise to their daily routines.
CNN: What counts as “vigorous” physical activity?
Wen: Vigorous activity is generally defined as exercise that substantially raises your heart rate and breathing. A simple way to gauge it is the “talk test.” If you can speak comfortably in full sentences while exercising, you are likely in the low to moderate range. If you are so out of breath that you can only say a few words at a time, that is vigorous.
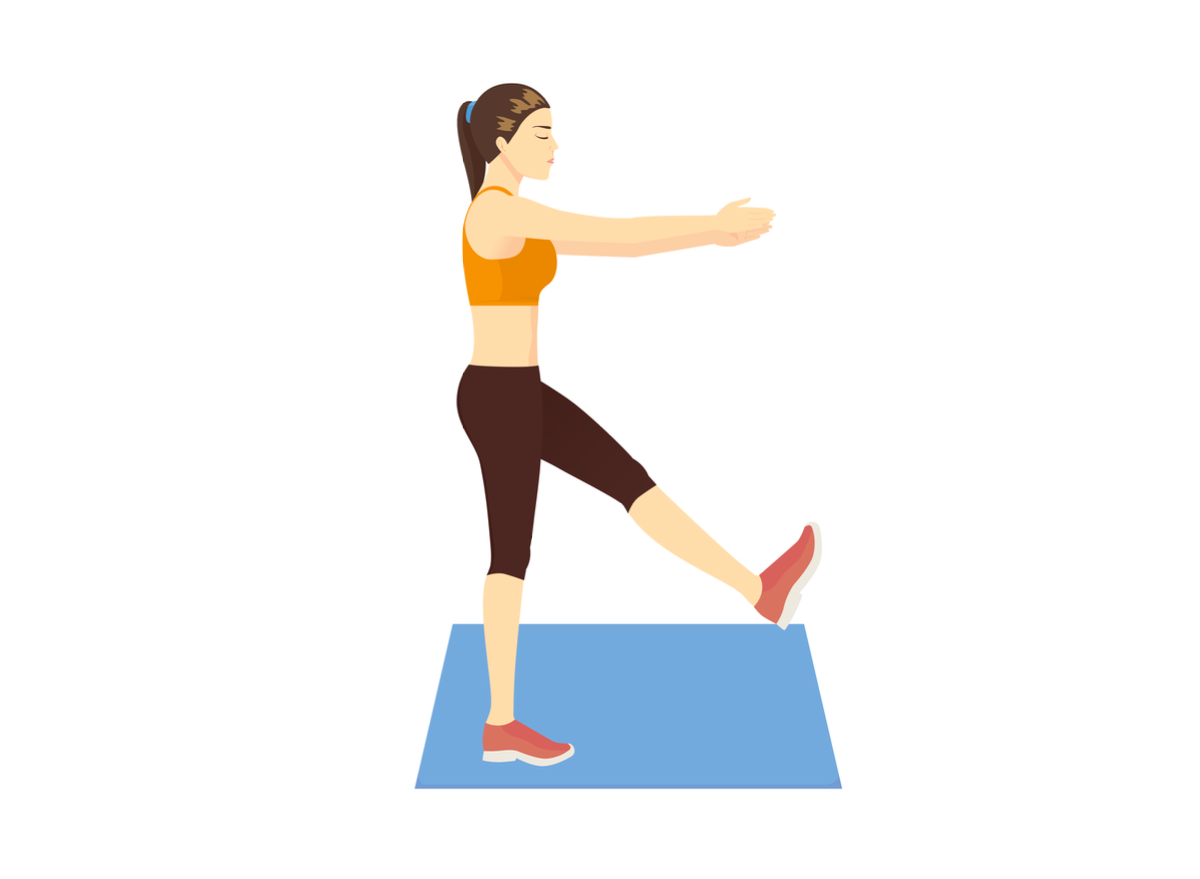
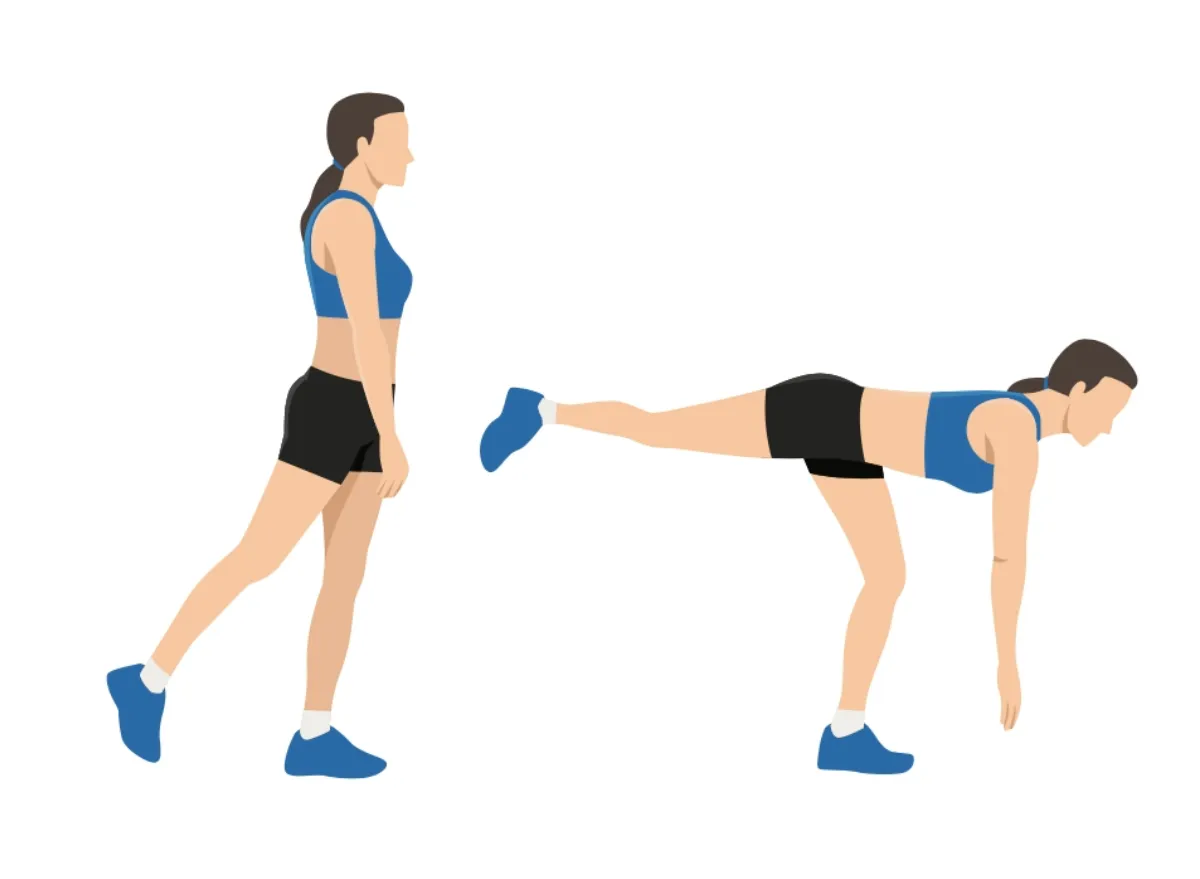
Running, cycling, lap swimming or climbing stairs quickly could count. But this also depends on people’s baseline fitness. For some individuals, taking longer strides with walking can be vigorous exercise. Others who are already fairly fit would need to do more. It’s also important to remember that vigorous activity doesn’t have to be in the context of a structured exercise plan. Short bursts of effort in daily life, such as rushing to catch a bus or carrying heavy groceries upstairs, can also qualify if they raise your heart rate and make you breathless.
CNN: Why might higher intensity exercise provide additional health benefits?
Wen: Higher intensity activity places greater demands on the body in a shorter period. This type of movement can improve cardiovascular fitness, increase insulin sensitivity and support metabolic health more efficiently than lower-intensity activity alone. Some studies have also linked vigorous activity with cognitive benefits.
Greater intensity may have distinct benefits across different organ systems. The researchers found that some conditions, such as immune-mediated inflammatory diseases, appeared to be more strongly linked to the intensity of activity than to the total amount. On the other hand, type 2 diabetes and kidney disease were influenced by both how much activity people did and how intense it was. Why this is the case is not yet known, but intensity appears to have a significant impact across diseases affecting multiple organs.
CNN: How much vigorous activity do people need?
Wen: The threshold for people seeing a benefit appears to be relatively low. The researchers found that once people reached more than about 4% of their total activity as vigorous, their risk of developing chronic diseases dropped substantially.
To put that into practical terms, we are not talking about professional athletes dedicating their lives to hours of high-intensity training. Everyday people may see benefits from just doing a few minutes of vigorous effort daily.
CNN: How can people realistically incorporate vigorous activity into their daily routines?
Wen: One helpful way to think practically is that vigorous activity does not have to happen all at once. It can be accumulated in short bursts throughout the day.
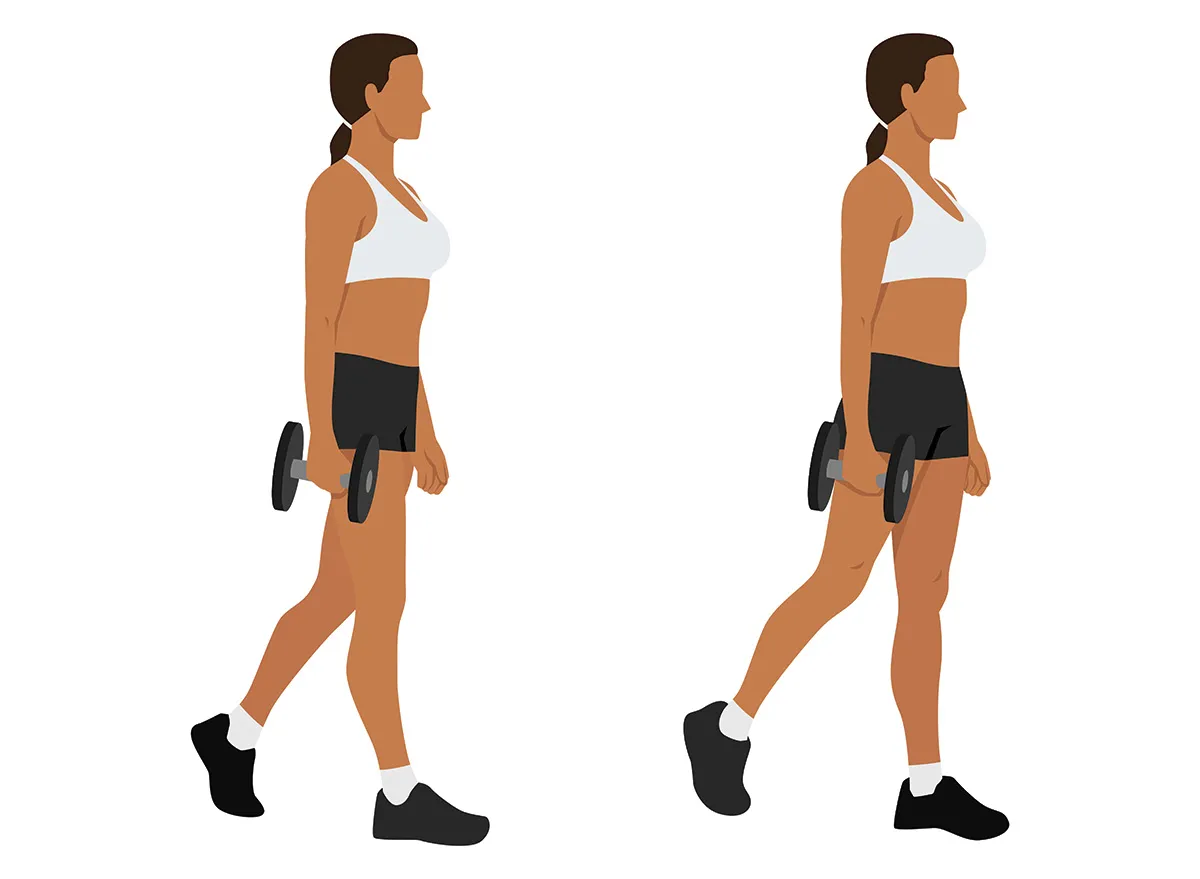
People can take the stairs instead of the elevator and do so at a faster pace than usual. When they are heading to work, they can add some speed walking. They can park farther away when grocery shopping and walk briskly while carrying groceries.
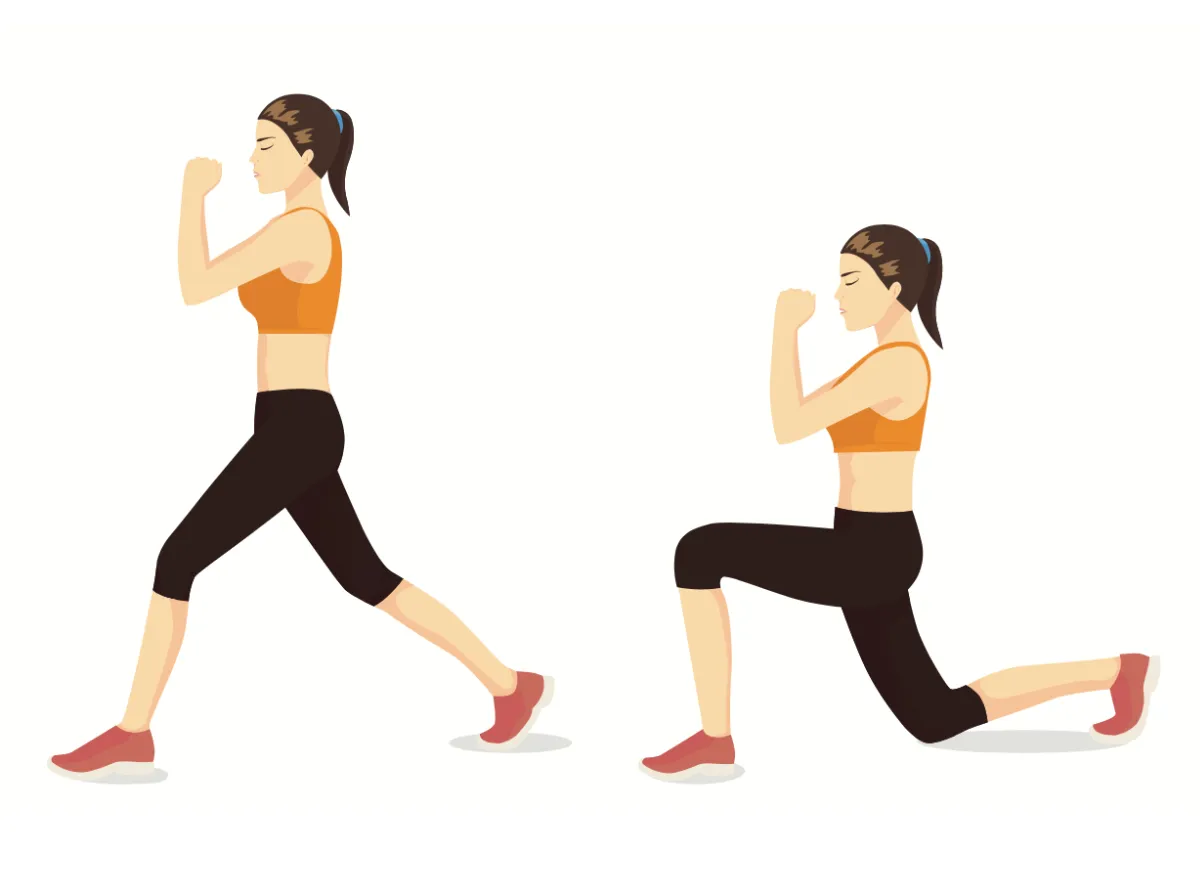
Structured exercise also can incorporate intervals where people alternate between moderate and more intense effort. If you’re swimming laps, you can warm up at a more leisurely pace, then do a few laps at a faster pace, then again at a leisurely pace and repeat. This suggestion applies to any other aerobic exercise: Aim for multiple intervals of at least 30 seconds to a minute each where your body is working hard enough that you feel noticeably out of breath.
CNN: What about someone who is older or has mobility issues?
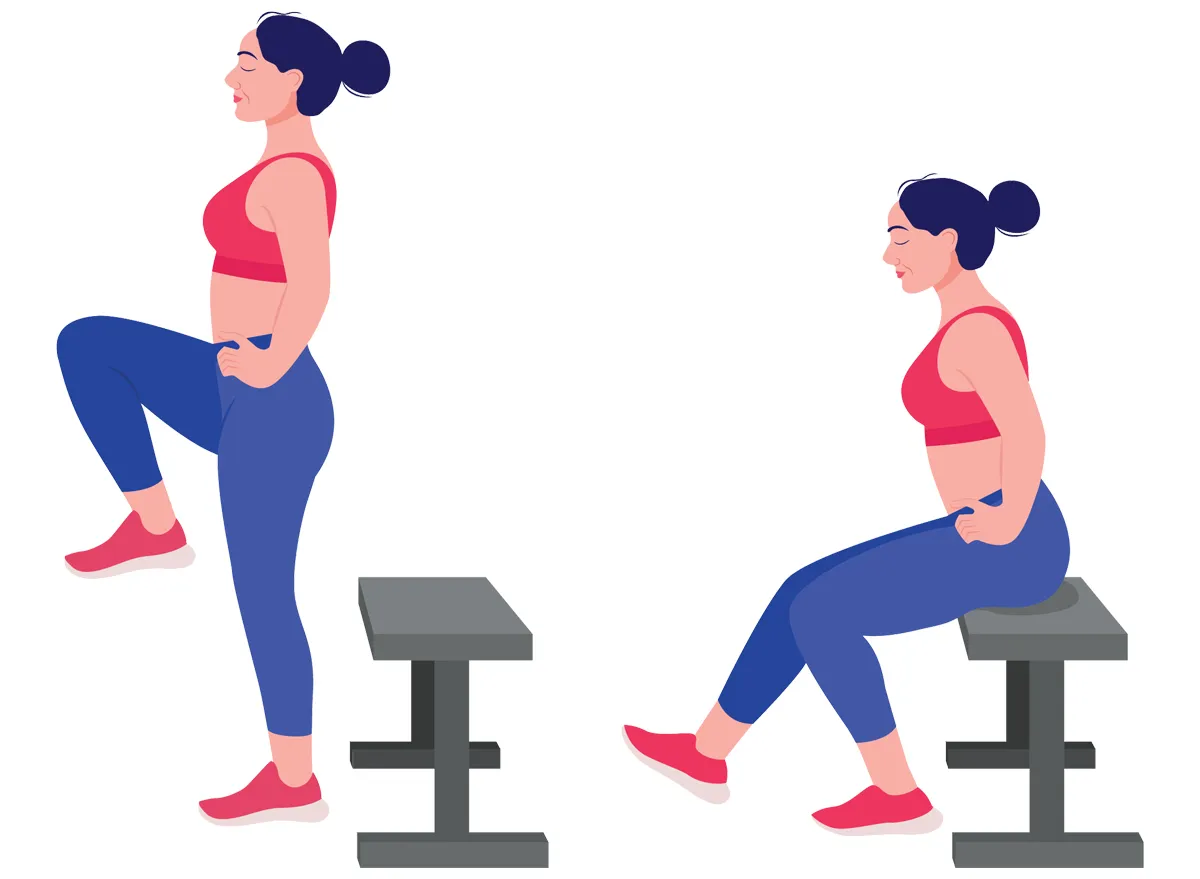
Wen: Not everyone can or should engage in high-intensity activity in the same way. Vigorous activity is relative to that person’s baseline. For someone who is not used to exercise, even a short period of slightly faster walking or standing up repeatedly from a chair could be considered high intensity. And not everyone may be able to walk. In that case, some exercises from the chair can have aerobic benefits.
Individuals who have specific medical conditions should consult with their primary care clinicians before embarking on a new exercise routine. People with mobility issues also may benefit from working with a physical therapist who can help to tailor exercises appropriate to their specific situation.
CNN: What is the key takeaway for people trying to improve their health?
Wen: To me, the main takeaway from this study is that it’s not only how much total exercise you get but also how hard you push yourself that matters. And you don’t have to have a lot of high-intensity exercise: Adding just a little has substantial health benefits across a wide range of chronic health conditions.
At the same time, exercise needs be practical. People should look for opportunities to safely increase intensity in ways that fit their daily lives. The most effective approach to physical activity is a balanced one: Exercise regularly, incorporate more challenging activities when you can and build habits that are sustainable over time.
Get inspired by a weekly roundup on living well, made simple. Sign up for CNN’s Life, But Better newsletter for information and tools designed to improve your well-being.


