Technology
Honey, I decapitated the MacBook

Individuals had lots of questions once I pulled out my M1 MacBook Air at a celebration over the weekend: “What’s that?” “What occurred to your laptop computer?” “Is that the brand new Mac?” This was to be anticipated, as there actually was one thing totally different about mine. See, my MacBook Air doesn’t have a display screen — and I made it that approach.
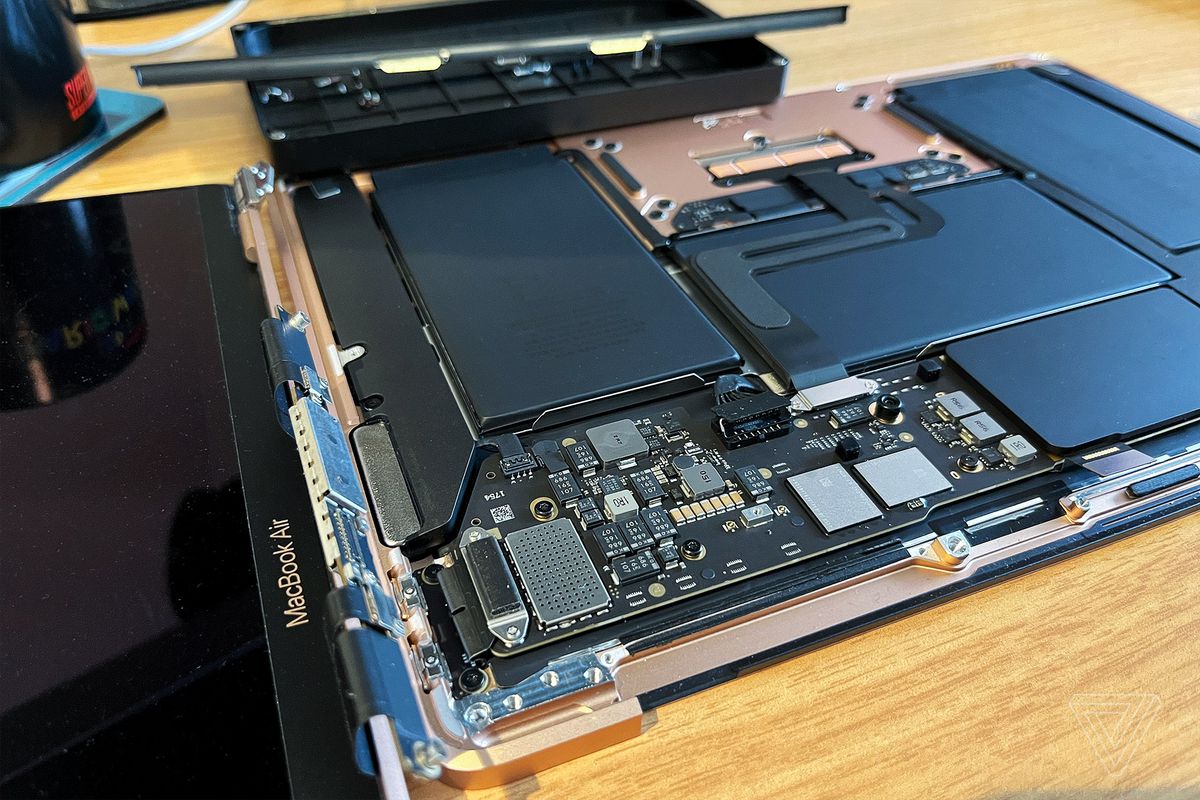
Don’t fear — it’s not damaged. All I did was take aside my laptop computer with out, you recognize, re-attaching the show. It has now been simplified into simply its backside half: an aluminum slab with an embedded keyboard and trackpad. I’m calling it a “slabtop” now. And I form of prefer it.
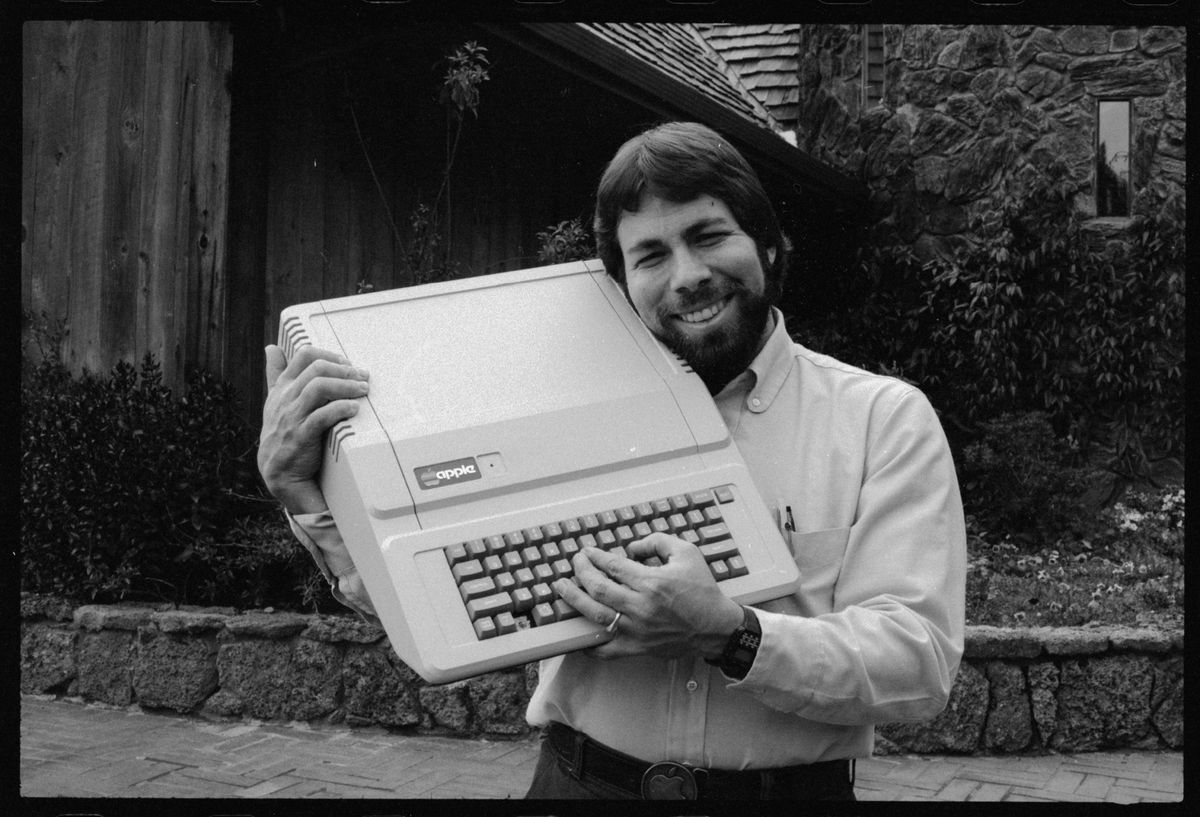
It’s a whole-ass pc inside a keyboard, not in contrast to PCs of yesteryear just like the Apple II and Commodore 64. However this M1-powered slabtop is totally different from these relics; it’s received a trackpad, a long-lasting battery, and it has AirPlay.

It sounds foolish, however I swear a slabtop is extra enjoyable to make use of than a laptop computer. It’s liberating at a celebration the place you may wirelessly connect with a TV with the keyboard in your lap — your arms freely flailing with out smacking your display screen throughout a Drawful sport session with buddies.
What impressed me to decapitate my Mac was Apple’s patent printed final month for a Mac embedded inside a keyboard. Rumor had it we might see a Mac like this at Apple’s occasion final week, however as a substitute, we received the externally boring however really superb new Mac Studio. I have to say, I used to be a bit obsessed on the uncooked efficiency Apple was promising and started slapping my pockets nervously in my palm — however as a substitute of selecting consumerism, I selected violence.
Look, I’m not loopy — I don’t go round laptops and questioning how they might look with their heads chopped off, however I’ve most likely changed over 100 show clamshells throughout my time as an Apple “Genius,” and I’m comfy with it. I additionally had an itch to nix my Mac’s clamshell as a result of screenless MacBooks have been trending on Twitter and mentioned on Reddit ever since that patent was printed. Somebody even made a slabtop with the forsaken Touch Bar, retaining not less than one display screen on their lap.
You do lose some capabilities once you delete the display screen; hopefully, you’ll by no means want to repair your pc as a result of you may’t see the restoration mode display screen on an exterior monitor. Additionally, if you wish to wirelessly stream to your TV, you’ll have to first bodily plug the slabtop right into a show to get to the AirPlay controls. You’ll additionally lose the built-in webcam, so in case you’re doing any Zoom periods, you’ll want an exterior one.
You can additionally lose entry to Wi-Fi on sure older MacBook Professional fashions from 2008–2010 as a result of the AirPort card and antennas had been embedded within the show hinge. Fortunately, a lot of these fashions nonetheless have built-in Ethernet jacks from the period earlier than Apple began taking away ports. (Ports are again, BTW.)


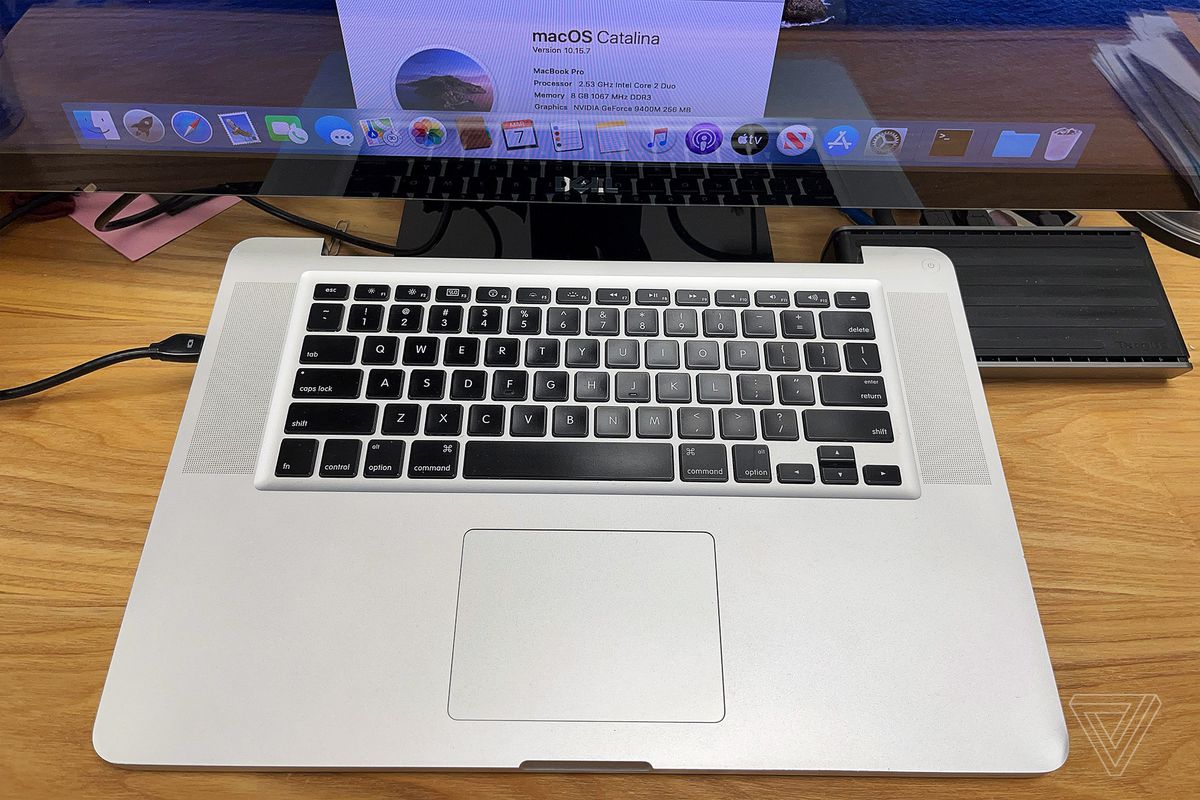
You probably have a MacBook, you recognize, simply sitting round, chillin’, completely happy as a clam…shell… you could possibly make your individual slabtop! Or you could possibly be me and volunteer your cousin’s 2009 15-inch MacBook Professional whereas they aren’t round to oversee it.
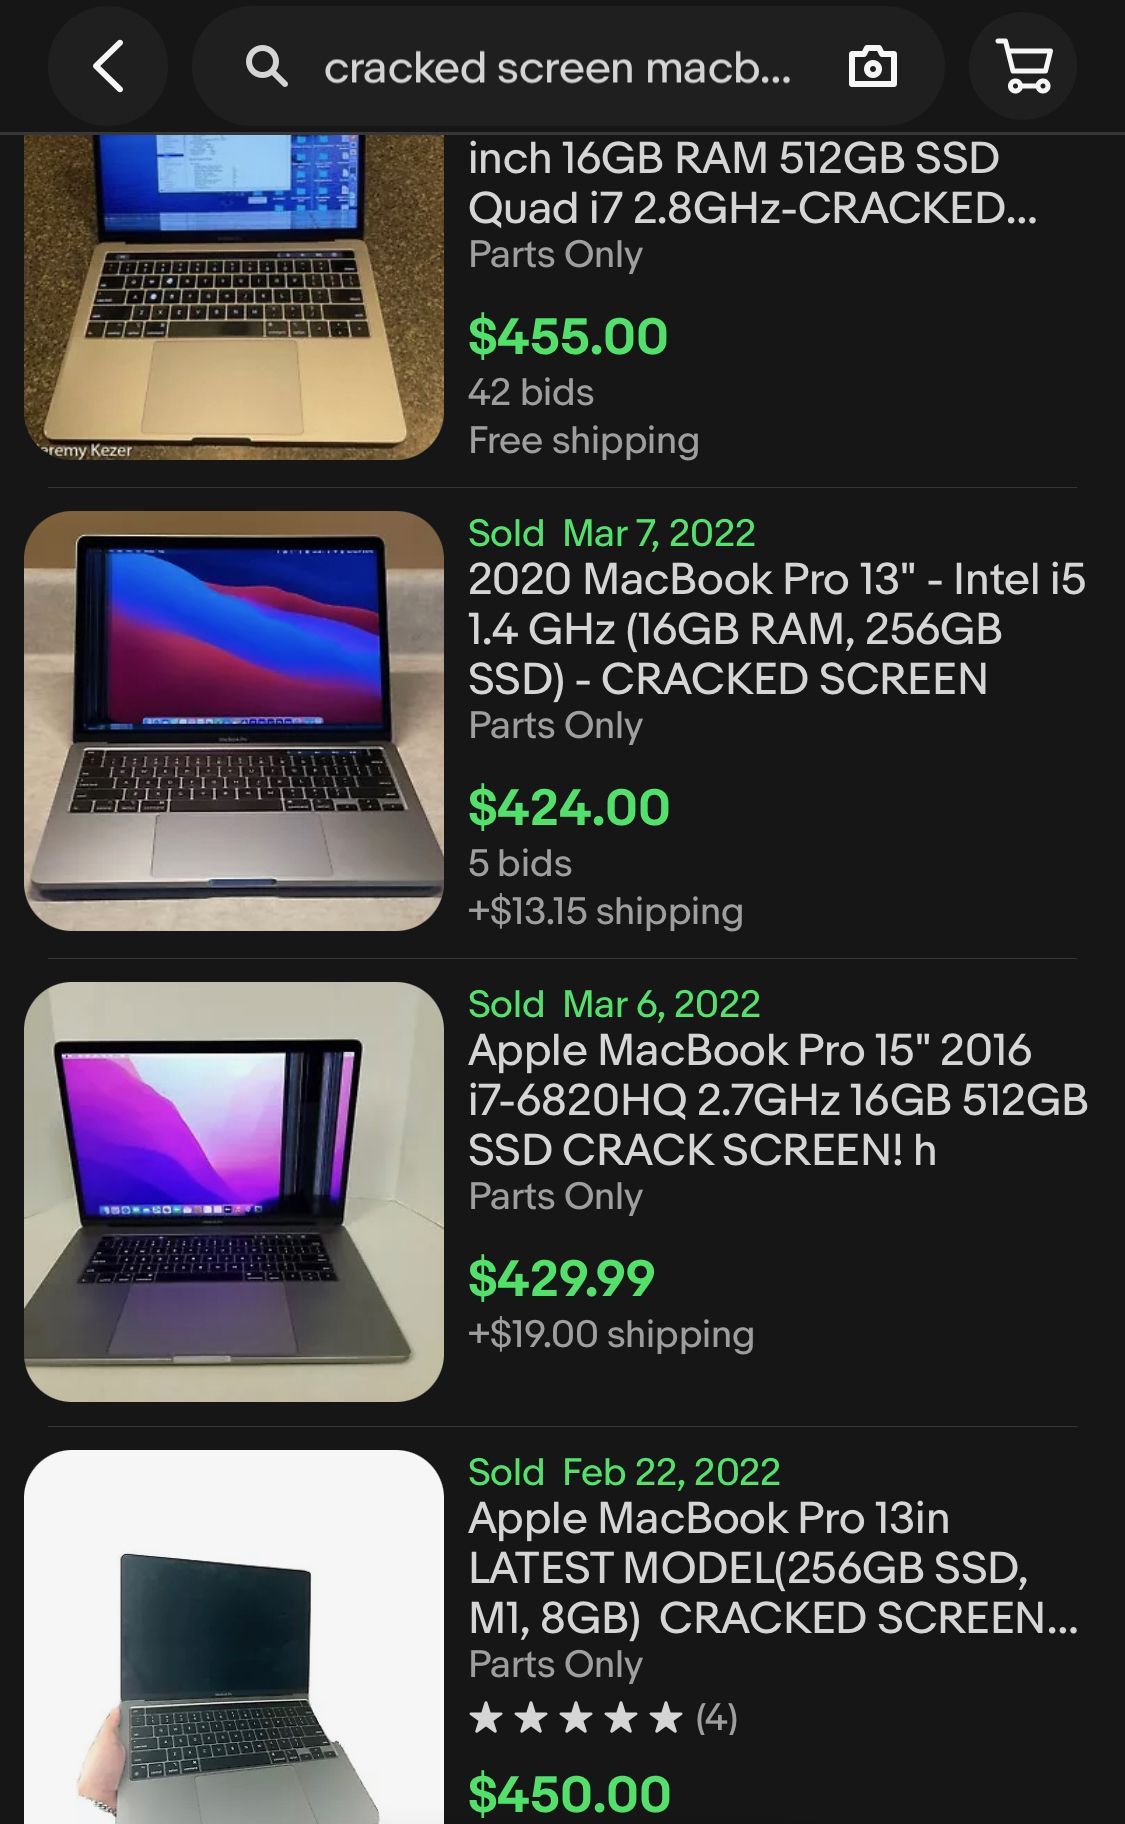
But when your cousin isn’t as forgiving as mine, maybe the eBay route is your finest guess. I discovered lately bought listings for damaged Contact Bar MacBook Professionals going for round $400, both as a result of they’d cracked screens or an issue with the versatile show ribbon cables. However, hey, who wants flex cables anyway once we’re dropping useless weight?

Earlier than we get began, be sure to have a toolkit with all of the wanted screwdriver bits: a pentalobe P5 to open up most MacBooks made 2012 or later, a Phillips 00 to open up most MacBooks 2012 or earlier; both approach, you’ll need a full Torx set sizes 3-8 for varied inner components. You may additionally need a tri-wing Y1 driver to take away many 2010–2012 MacBook batteries (to keep away from by chance turning in your MacBook whereas working) or, within the case of the 2009 MacBook Professional, a pentalobe P6. It’s additionally good to have a nylon pry instrument and tweezers to securely pluck connectors and gather screws, or you could possibly simply develop your nails out for a number of days as an alternative.
You’ll additionally have to have a monitor or TV to make use of your slabtop and a method to bodily join them. In case your Mac solely has USB-C ports like my M1 MacBook Air, get a USB-C to HDMI cable or a USB-C hub / dock that has a video output. But when your Mac is a bit older like that 2009 MacBook Professional, you’ll want a cable that goes from mini DisplayPort to no matter your exterior monitor makes use of, akin to HDMI, full DisplayPort, possibly even DVI.

Whereas I took aside the computer systems utilizing sheer intuition, I did discover an excellent M1 MacBook Air show removing information at iFixit and one other one for the 15-inch 2009 MacBook Professional. For those who’re opening up a unique MacBook or possibly even one other laptop computer completely (heck, you could possibly make a Chromebox from a Chromebook in case you wished to), you must search for a information on-line on how you can take it aside — or be like me and don’t, that’s as much as you! Please be suggested: I take no accountability for any injury or damage attributable to your try.
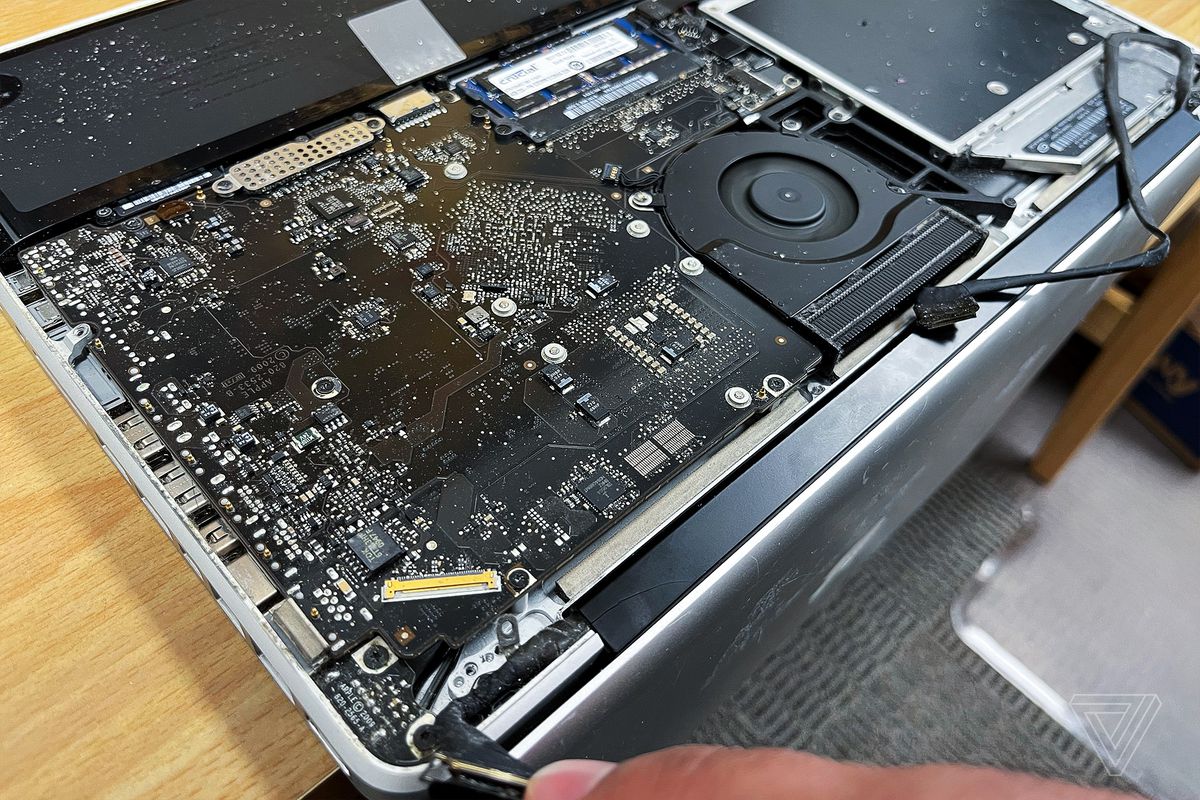
For the previous decade’s price of MacBooks, step one is to open the underside case. Flip the MacBook upside-down and take away all the underside screws (as many as 10) with both the pentalobe or Phillips driver, relying on the mannequin. Make sure to notice the place every screw goes since some are longer than others, and the flawed ones might trigger injury.
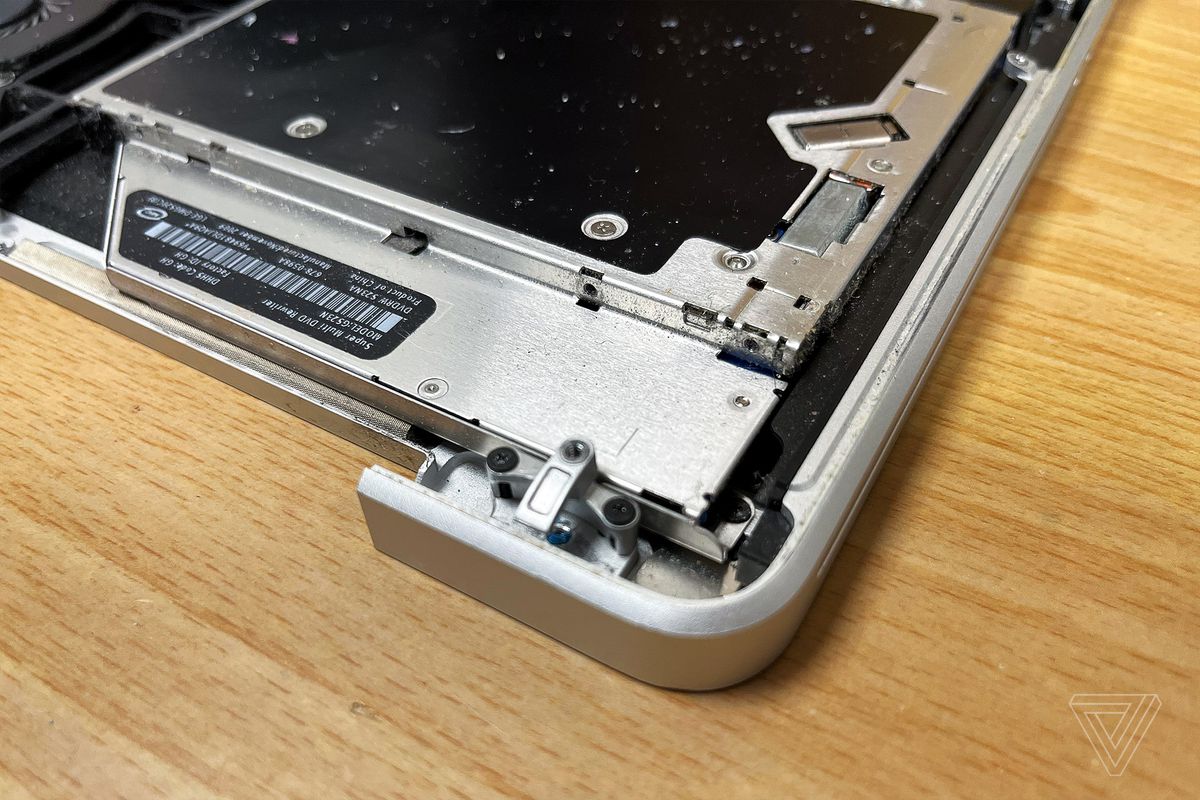
You should still have to pry barely earlier than it opens — with my M1 MacBook Air and the 15-inch 2009 MacBook Professional, I simply wanted to seize the aluminum base on the again edge close to the vents and pull — you’ll really feel a pair snaps from clamps holding them collectively, however don’t fear, it comes off simply. Most different MacBook fashions launched come aside the identical approach — aside from one main anomaly within the 12-inch Retina MacBook. That mannequin has its battery and logic board hooked up to the underside case with delicate ribbon cables linked between the slabs. For that, I might suggest following this information carefully to keep away from injury to the cable or battery.
The second step is to disconnect the battery. I made the error of skipping this step on the 2009 MacBook Professional and by chance turned it on throughout surgical procedure — higher on my cousin’s MacBook Professional and never my MacBook Air, am I proper? Anyway, for the 2009 MacBook Professional, I eliminated three pentalobe screws (tri-wing for the following few mannequin years up), lifted the battery midway up with its helpful pull tab, then disconnected the battery.
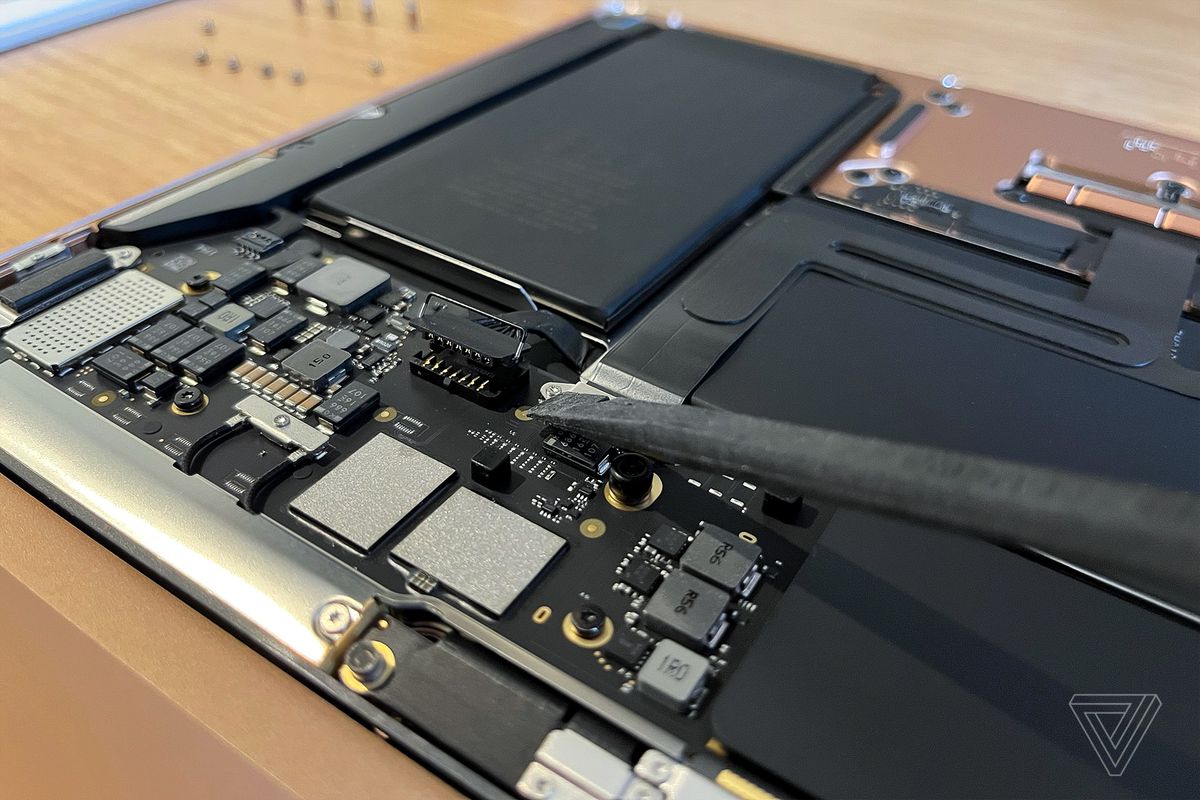
The 2011 MacBook Professional’s battery is far simpler to disconnect; you don’t even have to take the battery out. Ditto the M1 MacBook Air’s battery: all it takes is a flip-up and pull of the steel locking deal with of the battery connector. (See picture above.)
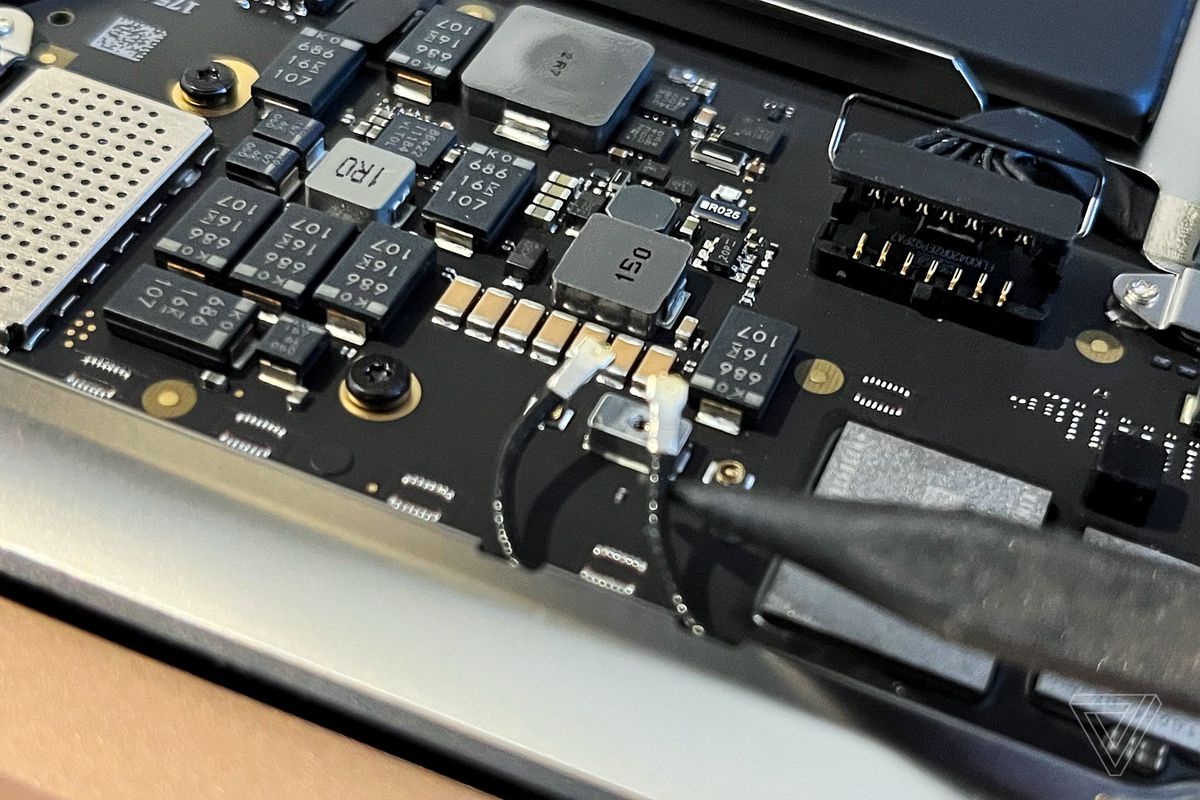
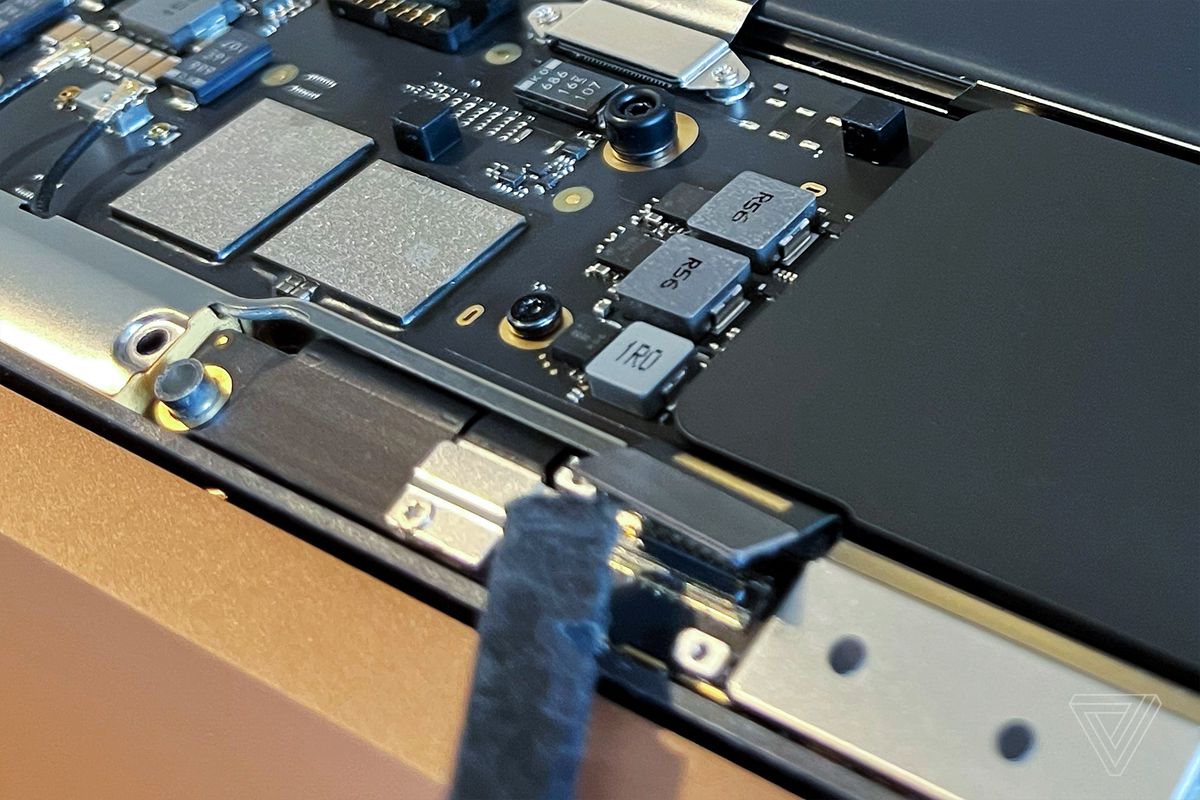
The third step is to disconnect and take away something that is available in the way in which of attending to the show hinge screws, together with inner video connectors, antenna connectors, and — within the case of my M1 MacBook Air — even the antennas themselves. Don’t fear — after the show is eliminated, you may put the antenna again and nonetheless maintain Wi-Fi connectivity on your slabtop, in contrast to my cousin’s machine. Eradicating all these components might be tough, so that you may wish to observe an internet information on your explicit mannequin.
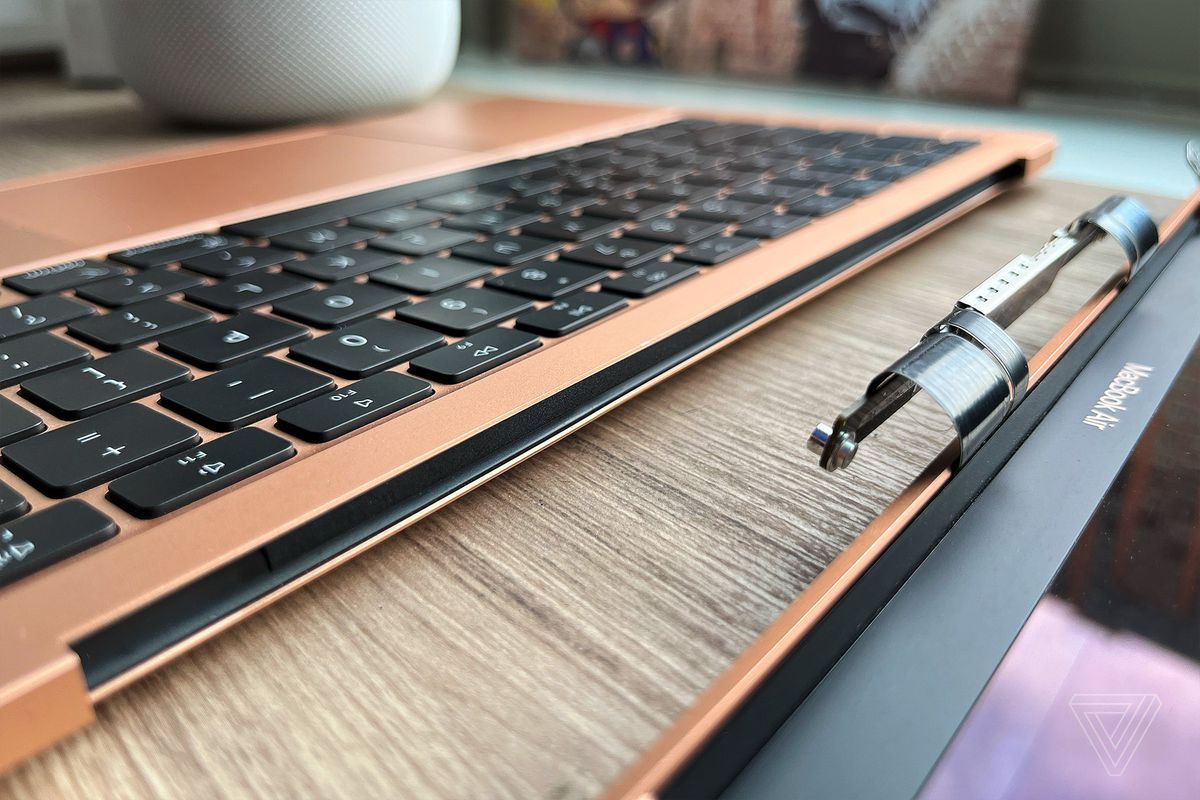
The fourth step is to take away the show clamshell. For my M1 MacBook Air: with the show cable disconnected and the antennas out of the way in which, I choose up the laptop computer and open the clamshell to its widest level, possibly 130 levels. I then place the laptop computer the other way up with the keyboard slab absolutely on the desk’s high and the show clamshell hanging down and off the sting of the desk like a wing. Maintain it so it doesn’t slide off the desk whilst you carry out the following steps!
With the Air, there are six Torx screws holding the clamshell to the keyboard slab — three on both sides — I eliminated two from both sides after which solely eliminated the final two screws after I used to be positive I might maintain the lid from falling. The display screen received’t essentially pop off, although. You’ve received to dislodge the hinge from the body first, and my trick is mainly simply to push the laptop computer display screen as if I’m closing it whereas it’s the other way up on the desk. It ought to come out when the lid is almost perpendicular to the bottom.
By the way in which, that step is a bit simpler on the 2009 MacBook Professional. I saved the show open at a 90-degree angle off the desk as a substitute of absolutely opening it, eliminated the screws, after which lifted the show straight up and off with none pushing or sliding.
The slabtop is nearly prepared, however you’ll have to put a number of items again in if you wish to shut it up once more and have Wi-Fi. With my M1 Air, all of the non-display components, together with the antenna and its connectors, went again in. I even put the show hinge screws again in for safekeeping. I then reconnected the battery and firmly pressed the underside case cowl again on, and it gave a satisfying snap. Now I’m solely 10 screws away from the ultimate product — my new slabtop!
Did you succeed as properly? If that’s the case, let’s go plug it in! You may join it to a monitor or TV with the appropriate cable, energy it on, and you must get an image on-screen in about the identical period of time it took in your built-in one — although, if it’s an M1 MacBook, you won’t get an image till it’s completed booting up. If the monitor will get to the login display screen however solely reveals a wallpaper with nothing to click on, it’s as a result of the slabtop has phantom limb syndrome and thinks it ought to output to the first built-in show, however you may hit Command + F1 to change to reflect mode, which ought to then reveal the principle display screen. You can even now mirror your display screen wirelessly to an AirPlay-compatible TV or streaming field. As soon as it seems on the TV, disconnect the cable and benefit from the freedom of a slabtop in your sofa!
And as you stroll over to the sofa, you could possibly take a second to understand how unexpectedly light-weight the slabtop is and the way the design form of intrigues the thoughts and invitations you to hold it round. I might see this really turn into an actual product Apple makes sometime, possibly with a design that features some form of deal with like Apple’s colourful iBook from 1999. A deal with for the slabtop would compel you to hold it round and develop a bond — which jogs my memory of the choice Nintendo made in 2000 so as to add a deal with to the GameCube.
So am I maintaining my slabtop? My spouse requested me once I plan to place my laptop computer again collectively, and it’s a tricky determination — I actually get pleasure from holding my slabtop, carrying it round, and displaying it to individuals as they stare upon it in child-like surprise. I did discover out that I can’t simply carry it in a backpack as a result of any key that will get pressed will energy it on unintentionally throughout transport.
However it’s OK for now; I’m having a good time watching movies, studying articles, and, sure, pricing out a Mac Studio with Studio Show, all from the consolation of my sofa.